Interest in Drone Photography?
Drone photography has now made it to many average photographers’ kit and has amazingly shifted their angle of vision.
From pro to hobbyist, every aspiring photographer has cast their eyes on a quadcopter that hovers and circles in the skies like motorised dragonflies. The tiny piece of aircraft – sometimes bigger than a tiny one has given views that in the past could only have been achieved by small planes and helicopters. The high quality of pictures means it can be used for not just social media sharing, but also magazine publications and large print sizes.
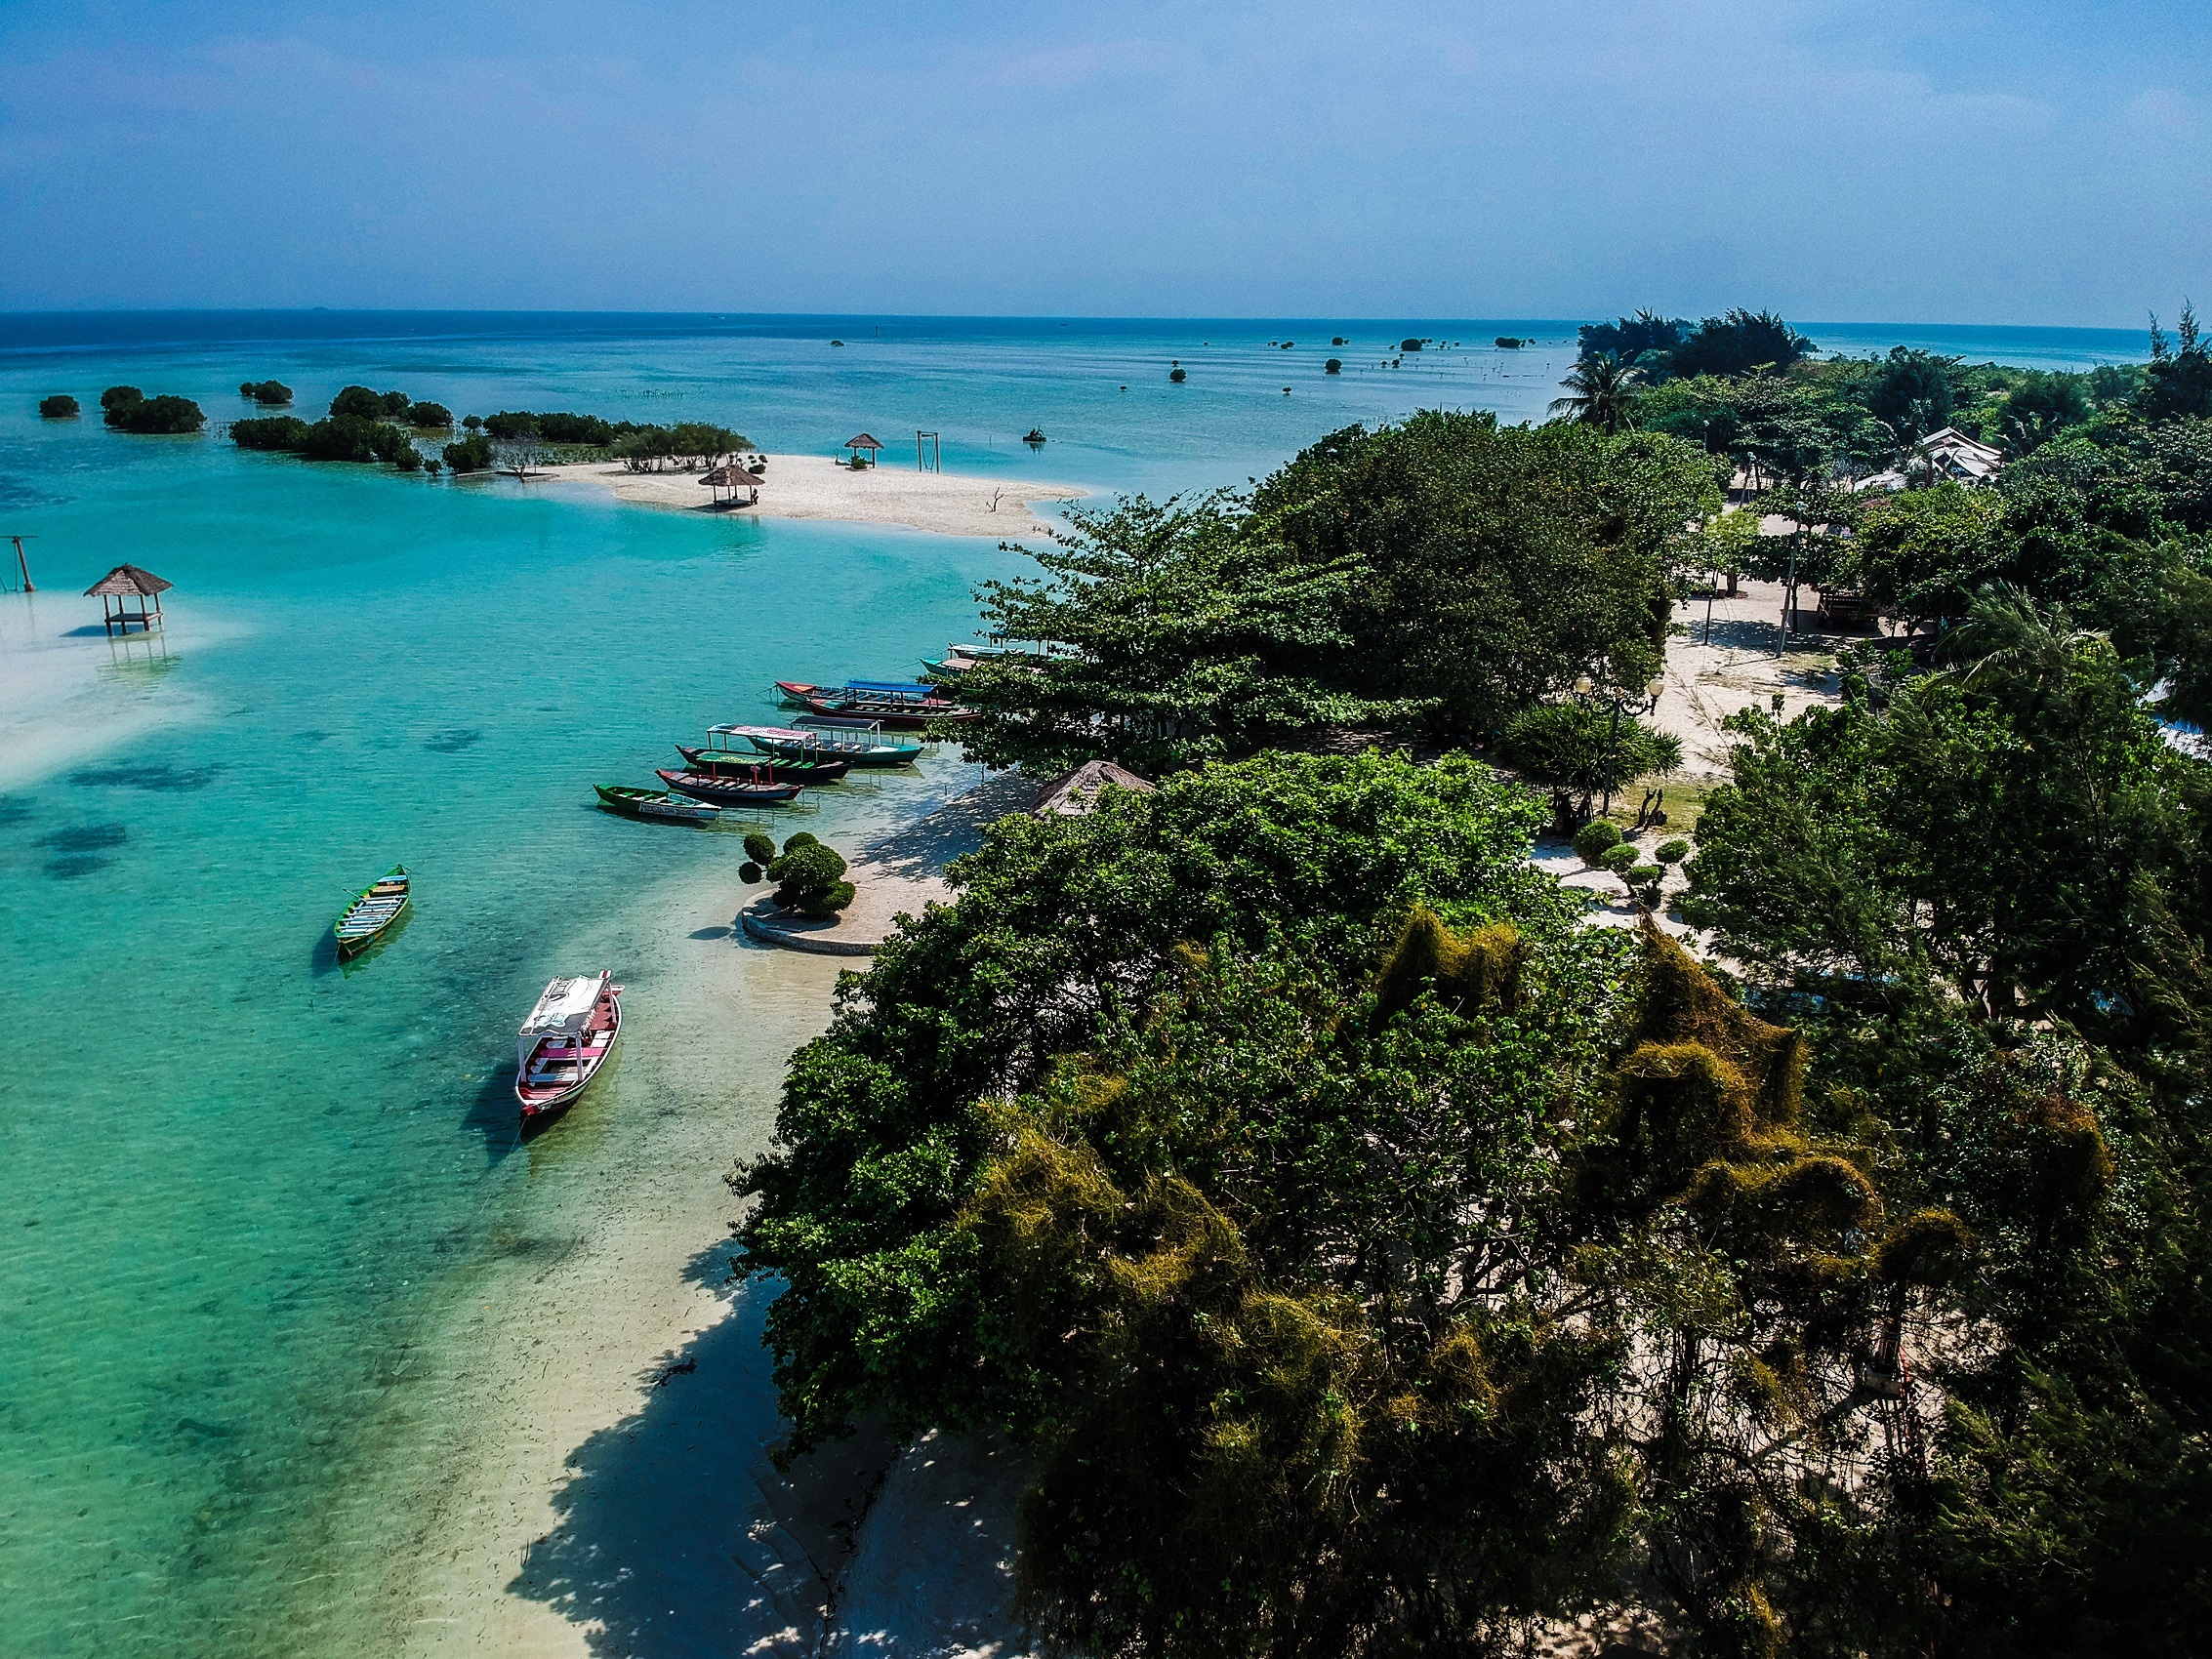
My interest in drone photography rose sometime in 2018. The immediate inspiration sprang from gawking at top-down pictures of beaches with waves spreading their foamy whites on the sands, coming off azure blue water. Top-down shots are something you may not achieve with your DSLR everywhere unless there is a tall bridge or a skyscraper right on top of a scenic landscape where you want it to be. So, if you want your photo to be taken while lying down on the beach with those waves lashing on you, droning is the way.
Selection of Drone
I started searching for cheap drones online, realising that DJI may not be within easy reach. I browsed other players like Syma, Kaidong, and a few others that could be as cheap as US$50–80. Reading reviews and watching them on YouTube is always my kind of thing before buying a product. The five megapixels photo taken with an average drone is nothing more than dilly-dallying with a toy proudly owned by my son, I convinced myself. So that was it – the answer was DJI.
Just as I decided to buy a DJI, the company came up with Tello, a cheaper one aimed at beginners, encouraging them to fly and fly until they reach a standard of taking photos. Though it was five megapixels, I thought I would go for it, trusting DJI to be different from lesser players. When I got to the store, the saleswoman told me that they had not received the stock yet. That’s when I noticed DJI Spark on display. I started chatting to her about Spark and its capabilities. As she told me that Tello cannot look down and that its gimbal movement is not as smooth as the Spark’s, I divorced her even before marrying her. So, here is the customer who went to buy a DJI Tello and returned home with a DJI Spark.
DJI Spark is one of the most sought-after beginner drones that can do a semi-pro job. Note that DJI has sadly discontinued this brand, and has introduced Mavic Mini as a replacement. If you are still looking for Spark, you may need to ask resellers or go for a second-hand one, both are getting difficult to find. Mavic Mini is not much different from Spark and the features are more or less the same.
Taking pictures at 12 MP and 1080 videos that are no less than 4K ones, Spark has conquered many novices’ hearts. Comparative reviews that match it with its bigger DJI siblings of higher qualities reveal that it’s no less than them when it comes to photo quality. The handsome price complements your well thought out decision.
Learning Techniques
Setting up the drone and connecting it to my smartphone using DJI Go 4 application was quite easy. There are step-by-step instructions given in the manual. It is very important to choose a location away from crowds and buildings for your first flight. At first, I tried to launch the Spark inside my housing cluster, but the drone signalled ATTI mode, which refers to lack of a GPS signal – you are not supposed to fly though experienced droners fly and land manually without incidents. I did not take the risk. I drove to the nearest empty spot that was still awaiting construction. This time, the green bar with the message “Ready to Go (GPS)” assured me I was ready to take off for the first time. After launching and hovering on 30 metres above the ground, I turned the drone’s direction all around to make sure all four sides have a GPS signal. Then the Spark climbed up and up, to more than 100 metres, I clicked my first pictures. This practice continued for about two to three months, taking photos and videos without framing the objects as I usually do on a DSLR. The goal was to train me as a remote pilot. Some of the lessons I learned were: do not fly facing metallic objects, thick growth of trees or in confined spaces. When you try to fly against metals, the application will show a compass error message in which case you will be instructed to calibrate the compass. You will have to perform this if you are aiming to take pictures of metallic objects or anything nearby with the metals as foreground or background. Otherwise, try to avoid flying in that area.
Another problem I encountered was losing signal as the antennae on my remote control were not adjusted to 90 degrees inclination. As soon as my application alerted me, I readjusted them and the signal was back.
Location Selection
As I had enough flying practice at different places near and away from home, I started to think of beaches, lakes, and mountains. While looking at pictures on the internet, especially on dedicated DJI pages on social media platforms, gave me ideas on some key places, I wanted to do things differently rather than copying someone else’s angles and compositions. I pounced on Google maps, and opted for satellite images of various locations. This was quite helpful in identifying areas suitable for flying.
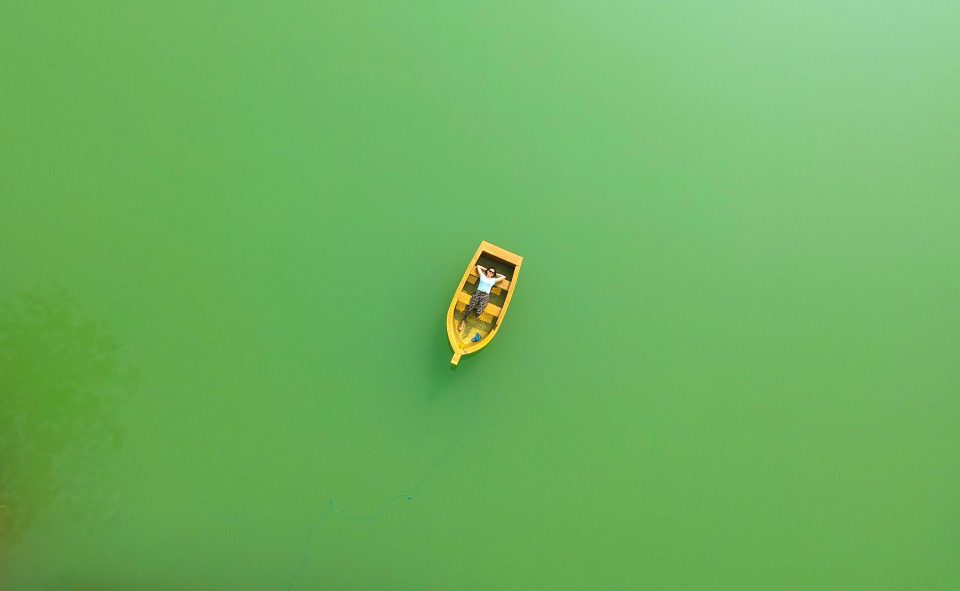
Using Google maps as a virtual top-down image is like envisioning the result of a photo you could take of the location you see on it. I came to know of a less known lake on the outskirts of Tangerang through the maps. The lake is called Telaga Biru which changes its green hue to blue when a chemical reaction takes place. It is popular among the locals there. From the maps, I got some clues as to where exactly to stand and launch the drone. This is quite important as many remote places may not have even surfaces for the drones to take off and land. This made me purchase a launch or landing pad which comes at a cheap price.
Flying and Shooting
Being a pilot and a photographer is what makes drone photography different from any other kind of photography. After my lake venture, I turned to beaches, cities, mountainous terrains, and even to the deep seas. Working the remote control joysticks is the task to master to navigate the aircraft around and to frame the subjects properly. This will need some time to get done, so I practised this at places and times when the conditions were not windy. Though most DJI drones are pretty steady in windy conditions, you may never be assured of a very stabilised framing all the time. During high winds, the application gives you a warning and instructs you to land as soon as possible.
Flying over water gives goosebumps to many, but to be honest, I have never been anxious about this. A reliable GPS signal is all you need to make sure you can fly anywhere, including above lakes and waves. And, in case you are in trouble like losing signal and going into ATTI mode, and you don’t know how to fix it within the application, just press the back to the home button.
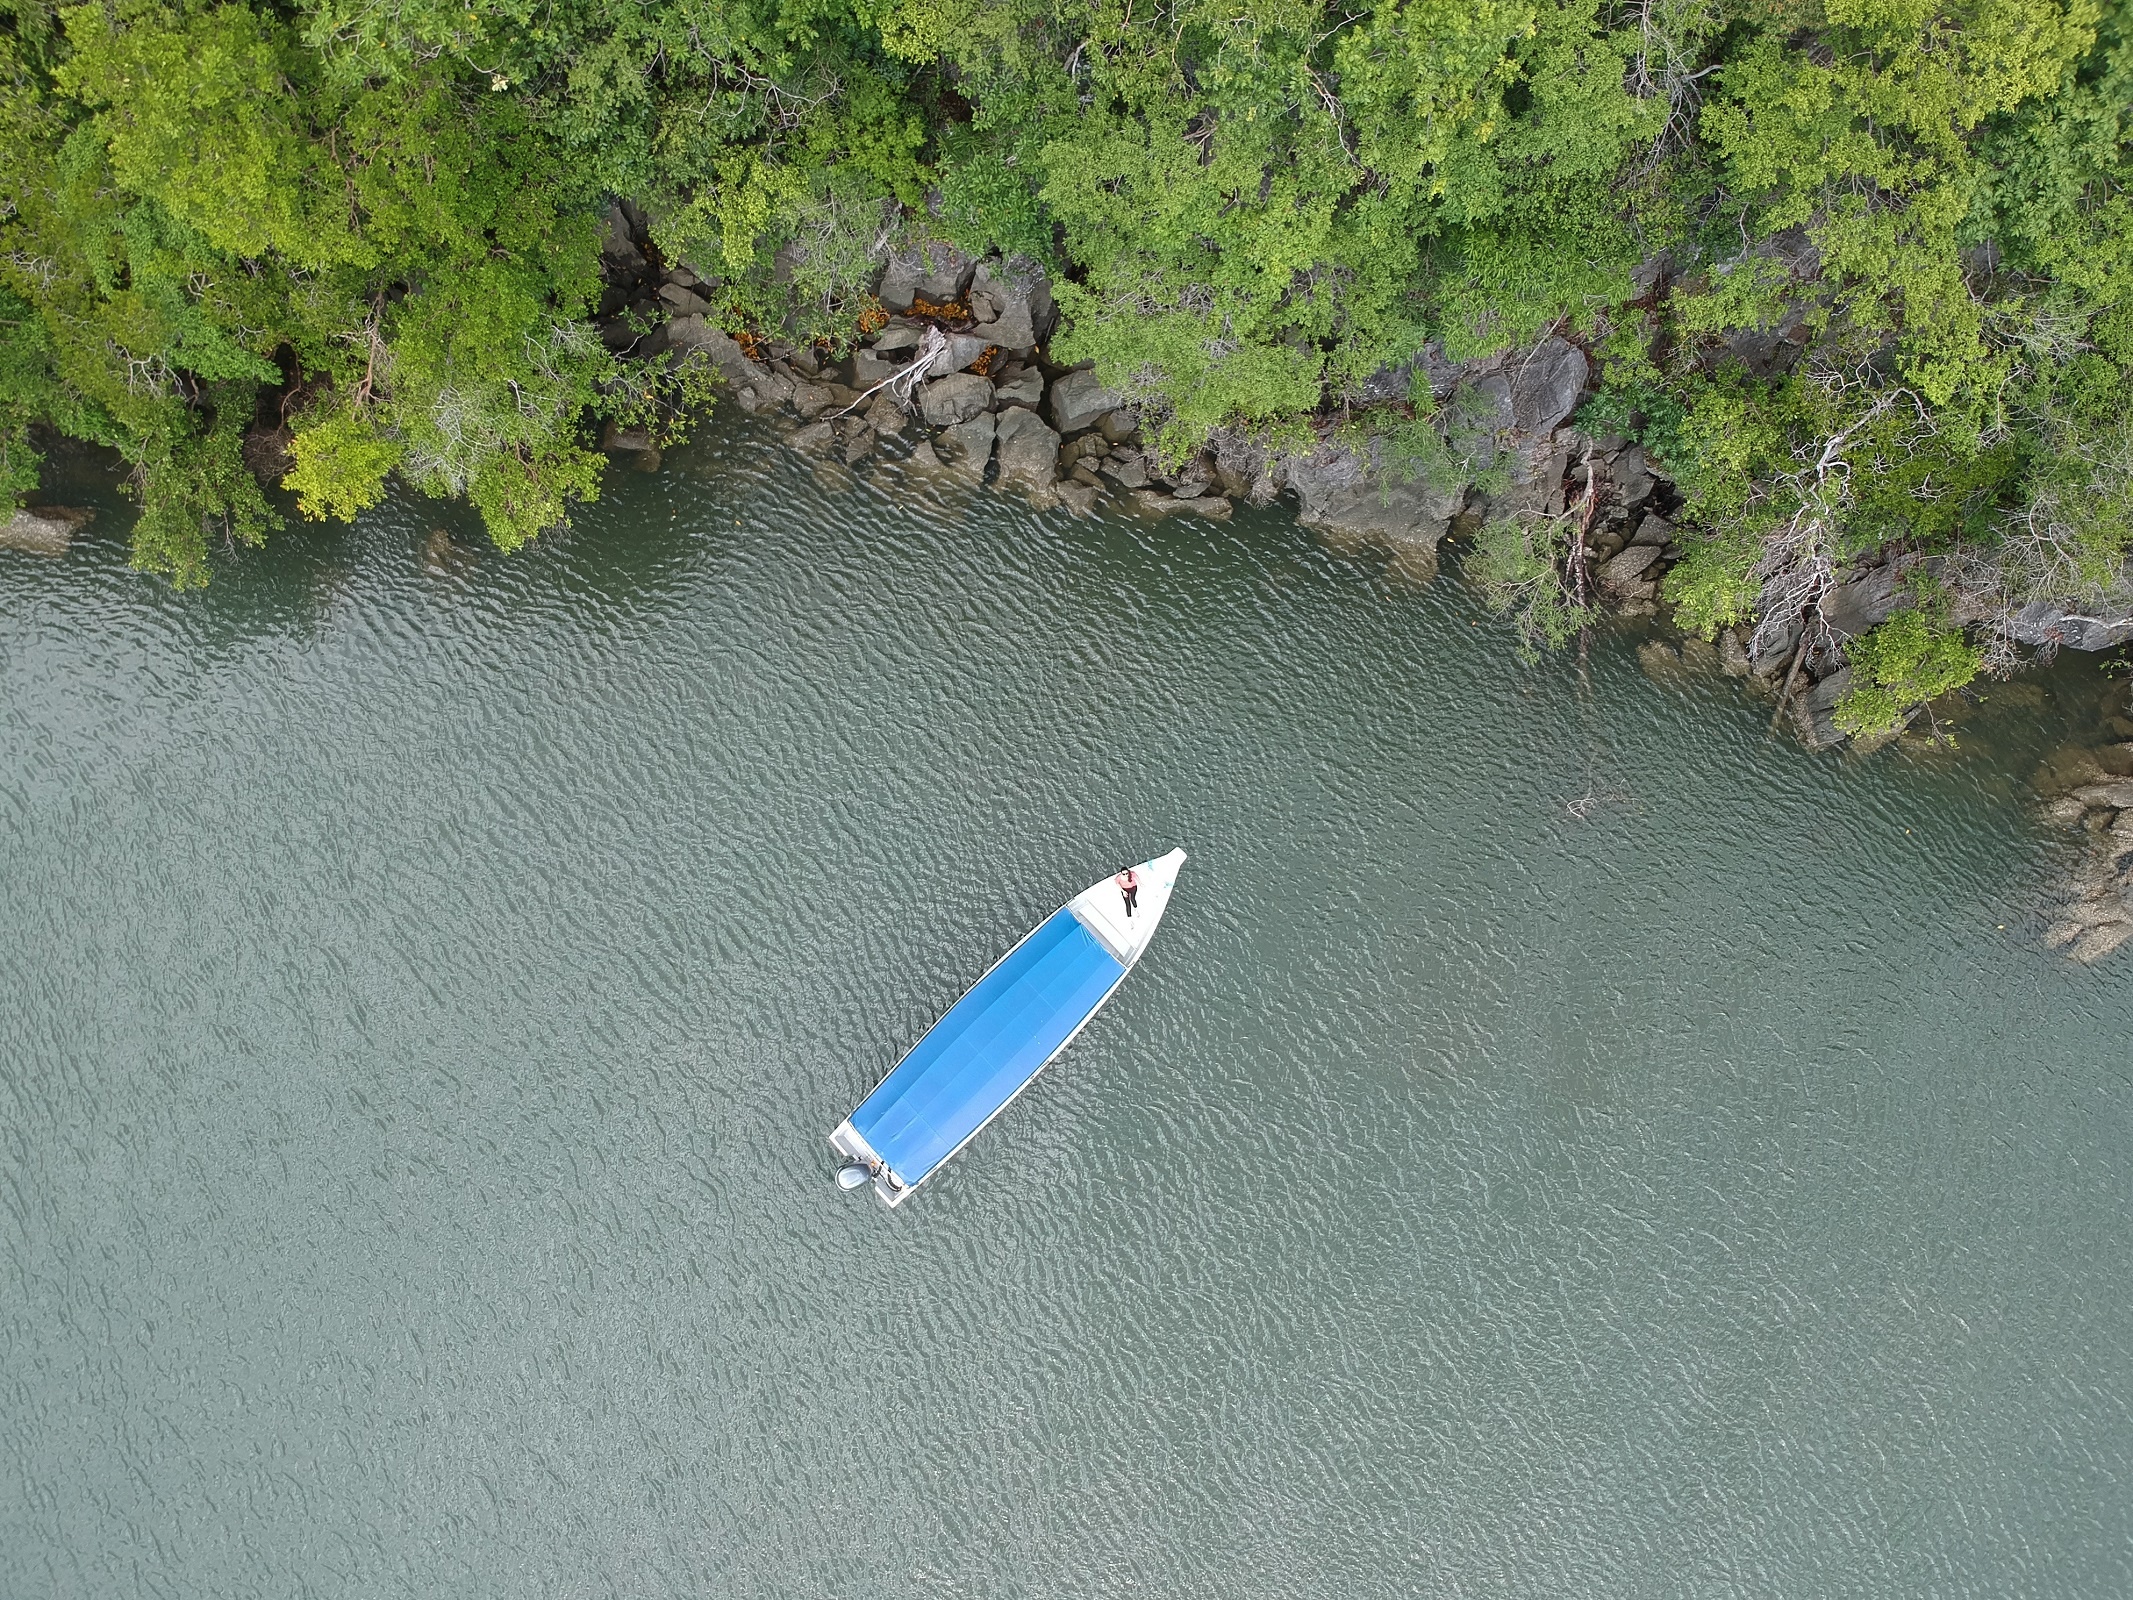
The only time I was anxious about being above water was in the Kilim Geoforest Park in the Strait of Malacca in Malaysia where I launched Spark from a boat on the sea surrounded by giant limestone cliffs. The area is popular with Langkawi sea eagles so I had to fly away from them. The signal was quite good, and though it was a bit windy, I managed to land back on the deck without much effort after getting some good shots.


